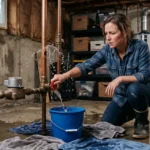

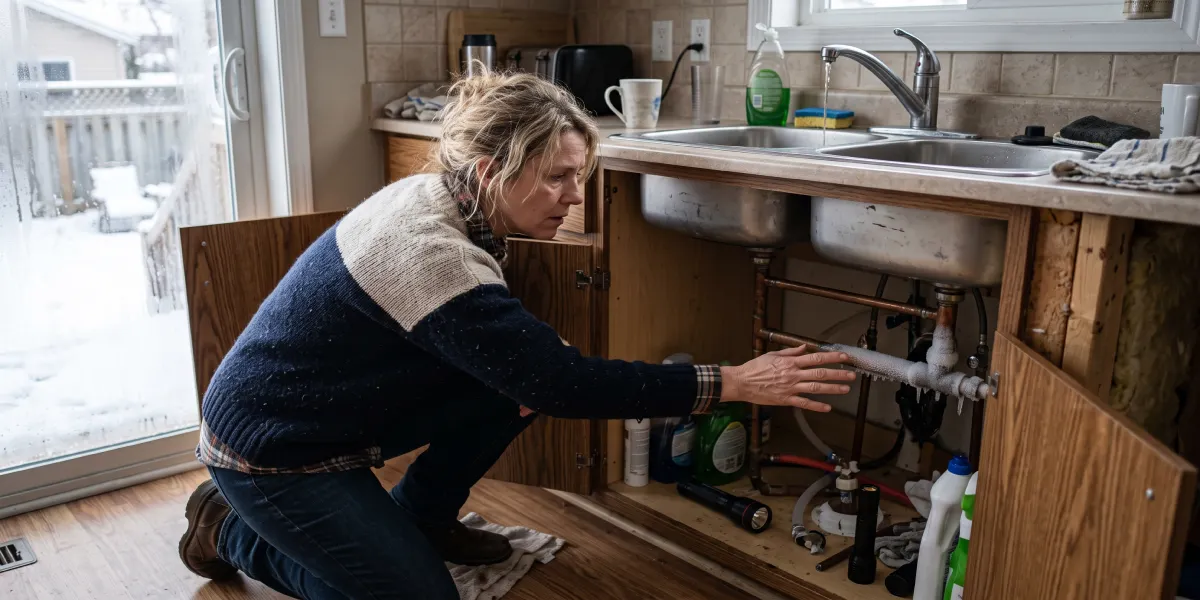
Nothing ruins a cold morning faster than turning on the faucet and getting nothing but a trickle — or worse, no water at all. If that’s happened to you, you’re probably dealing with a frozen line somewhere in your home, and you need a frozen pipe repair plan before the situation turns into a burst pipe and a flooded basement.
The good news is that most frozen pipe repair jobs are manageable once you know what you’re doing, and even the ones that need a professional aren’t as scary as they sound. In this guide, you’ll learn exactly how to spot a frozen pipe, seven fixes that genuinely work, how much frozen pipe repair typically costs, and how to keep this from happening again next winter.
How to Tell If You Need Frozen Pipe Repair
Before you can fix the problem, you need to confirm it’s actually frozen plumbing you’re dealing with. Here are the telltale signs:
- Little or no water pressure from one or more faucets
- Frost or condensation visible on an exposed section of pipe
- Strange odors coming from a drain (frozen water can force sewer gas back up)
- Faucets that ran fine yesterday but stopped after a hard freeze overnight
If you notice these signs, especially in pipes that run along exterior walls, in unheated basements, crawl spaces, or attics, you’re likely looking at a case that calls for frozen pipe repair sooner rather than later.
Why Frozen Pipes Are So Dangerous
Water expands by about 9% as it turns to ice. That expansion puts tremendous pressure on the pipe walls, and if the ice blockage isn’t relieved, the pipe can crack or burst — sometimes in a completely different spot than where the ice actually formed. A burst pipe can release hundreds of gallons of water in a single day, which is why fast, careful frozen pipe repair matters so much.
7 Frozen Pipe Repair Fixes That Work

Here are seven methods homeowners and plumbers rely on for effective frozen pipe repair, ranked roughly from simplest to most involved.
1. Open the Faucet First
Before you touch a heat source, open the faucet connected to the frozen section — both hot and cold sides if it’s a mixed fixture. This does two things: it relieves pressure as the ice melts, and it gives you an obvious sign of progress once water starts flowing again.
2. Use a Hair Dryer on Exposed Pipes
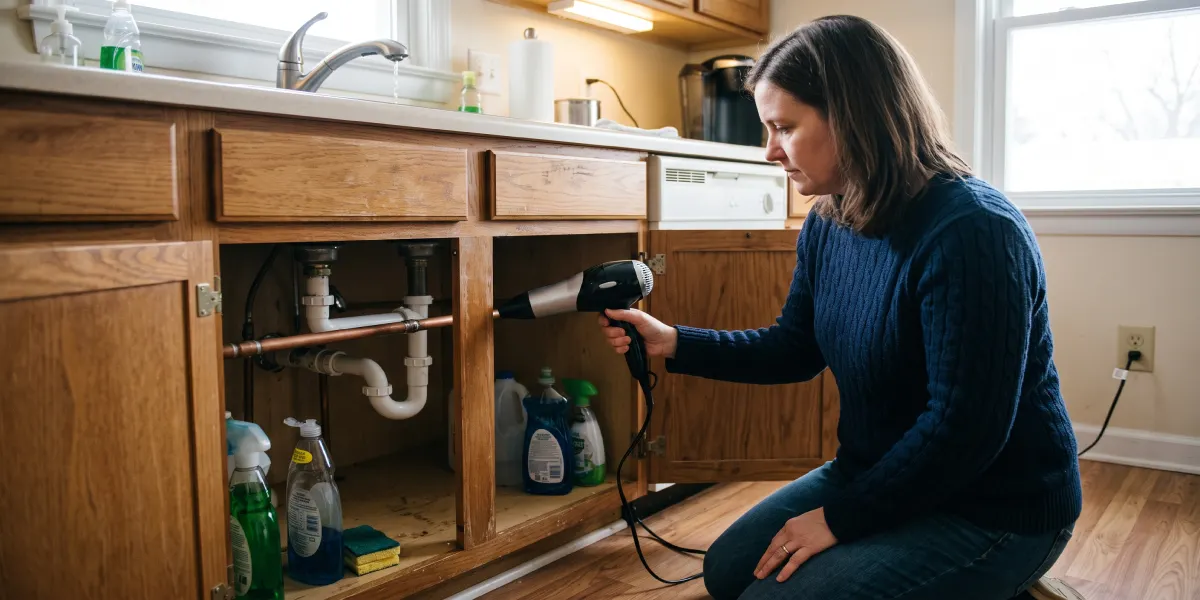
For pipes you can see and reach — under a sink, in a basement, along a wall — a hair dryer is one of the safest DIY frozen pipe repair tools available. Start near the faucet end and work backward toward the coldest section. Keep the dryer moving constantly and never leave it unattended.
3. Wrap Pipes with Hot Towels
Soak towels in hot (not boiling) water, wring them out, and wrap them around the frozen section. Re-soak every few minutes as they cool. This method is slower than a hair dryer but works well for pipes in awkward spots.
4. Try an Electric Heating Pad or Heat Tape
Heat tape or a heating pad designed for plumbing use can be wrapped around a pipe and left in place longer than a hair dryer, making it a solid option for hard-to-reach frozen pipe repair situations. Always choose a product rated for use on plumbing and follow the manufacturer’s instructions closely.
5. Use a Portable Space Heater in the Room
If the frozen section runs through a cabinet, crawl space, or small room, aim a space heater into the area (with the door or cabinet open) rather than at the pipe directly. This raises the ambient temperature enough to help thaw the line gradually and safely.
6. Apply Heat Cables for Long, Exposed Runs
For longer stretches of pipe — especially in crawl spaces or along foundation walls — self-regulating heat cables are a more permanent frozen pipe repair solution. They can be left running through the coldest months and often double as prevention for the rest of winter.
7. Call a Licensed Plumber for Hidden or Persistent Freezes
If the frozen section is inside a wall, under a slab, or you can’t locate it after 30–45 minutes of effort, it’s time to call in professional frozen pipe repair. Plumbers have thermal imaging tools and specialized equipment that can locate ice blockages without tearing into walls or floors unnecessarily.
Never use these methods: blowtorches, propane torches, or any open flame near a pipe. They can scorch wood framing, ignite insulation, or even cause the pipe itself to rupture from uneven heating.
Frozen Pipe Repair Methods Compared
| Method | Best For | Difficulty | Time to Thaw |
|---|---|---|---|
| Hair dryer | Exposed indoor pipes | Easy | 15–30 min |
| Hot towels | Awkward angles, small sections | Easy | 30–45 min |
| Heat tape/pad | Longer exposed sections | Moderate | 30–60 min |
| Space heater | Enclosed cabinets or small rooms | Easy | 30–60 min |
| Heat cables | Crawl spaces, foundation runs | Moderate | Varies |
| Professional plumber | Hidden, inside-wall, or persistent freezes | Requires a pro | 1–3 hours |
What to Do the Moment You Suspect Frozen Pipes
When you first suspect frozen pipes, resist the urge to panic and start banging on the wall. A calm, methodical approach makes frozen pipe repair faster and safer:
- Shut off the main water valve if you see any sign of a leak or crack.
- Open the affected faucet slightly to relieve pressure.
- Identify the likely frozen section by tracing the pipe route and checking for cold spots.
- Apply one of the gentle heating methods above.
- Watch for water flow and stop heating once it resumes.
- Inspect the pipe closely afterward for cracks, even hairline ones.
If you spot any cracking or bulging at any point, stop attempting DIY frozen pipe repair immediately and shut off the water supply until a plumber can inspect it.
How Much Does Frozen Pipe Repair Cost?
Cost depends heavily on where the pipe is located and whether it has already burst. Here’s a general breakdown for the U.S. market:
| Situation | Typical Cost Range |
|---|---|
| DIY thawing (dryer, towels, heat tape) | $0–$50 |
| Professional thawing visit, no damage | $150–$500 |
| Pipe repair after minor crack | $250–$800 |
| Burst pipe repair with water damage | $1,000–$4,000+ |
| Whole-section pipe replacement | $500–$2,500 |
These figures are general estimates; always get a written quote from a licensed local plumber before work begins, since regional labor rates and pipe material affect the final price.
Preventing the Need for Future Frozen Pipe Repair

Fixing a frozen pipe once is manageable. Doing it every winter is a sign you need to address the root cause. Here’s how to cut down on repeat frozen pipe repair calls:
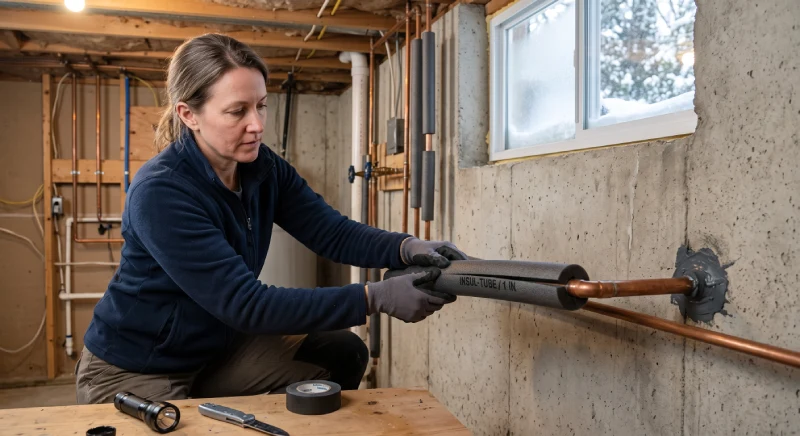
- Insulate exposed pipes in basements, attics, garages, and crawl spaces with foam pipe sleeves.
- Seal air leaks near where pipes enter the house through exterior walls.
- Keep cabinet doors open under sinks on exterior walls during cold snaps so warm air can circulate.
- Let faucets drip slightly during extreme cold — moving water is far less likely to freeze solid.
- Maintain consistent indoor heat, even overnight or while traveling; don’t drop the thermostat below 55°F.
- Disconnect outdoor hoses and shut off exterior spigots before the first freeze.
- Add heat cables to chronically cold sections identified in previous winters.
A Quick Prevention Checklist
| Task | When to Do It |
|---|---|
| Insulate exposed pipes | Before first frost |
| Seal wall penetrations | Early fall |
| Disconnect garden hoses | Before first freeze |
| Set thermostat minimum | All winter, even away |
| Let vulnerable faucets drip | During hard freezes |
Frequently Asked Questions
How do I unfreeze pipes without damaging them?
Apply gentle, even heat with a hair dryer, hot towels, or heat tape, working from the faucet end toward the blockage. Avoid open flames and never force pressure by using a plunger or tools on a frozen section.
How long does frozen pipe repair take?
Simple thawing with a hair dryer or heating pad usually takes 15 minutes to an hour. If the freeze is inside a wall or under the house, professional frozen pipe repair can take one to three hours, or longer if pipe replacement is needed.
Can I do frozen pipe repair myself, or do I need a plumber?
Many cases of frozen pipe repair are DIY-friendly when the pipe is visible and accessible. Call a plumber if you can’t locate the freeze, if there’s already a crack, or if the pipe is hidden inside a wall or under a slab.
What causes household pipes to freeze in the first place?
Pipes freeze when they’re exposed to temperatures below 32°F for an extended period, especially in uninsulated areas like crawl spaces, attics, and exterior walls, or when interior heating drops too low.
Will homeowner’s insurance cover frozen pipe repair?
Many standard homeowner’s policies cover sudden water damage from a burst pipe, but they may deny claims if the freeze resulted from neglecting heat in a vacant home. Check your policy details and talk to your insurer before assuming coverage.
Final Thoughts
Frozen pipes are stressful, but they’re rarely a lost cause. Whether you handle frozen pipe repair yourself with a hair dryer and some patience, or you bring in a licensed plumber for a hidden freeze, acting quickly is what keeps a minor inconvenience from becoming a costly repair bill. Combine fast action this winter with real prevention — insulation, sealed gaps, and a consistent indoor temperature — and you’ll spend a lot less time worrying about frozen pipe repair in the years ahead.
Noticing signs of a frozen pipe right now? Don’t wait for it to burst. Shut off your main water valve if you see any leaking, try the safe thawing methods above, and call a licensed local plumber if the freeze doesn’t clear within the hour.