

A small ceiling stain rarely stays small. By the time you spot it, water may have been soaking into the roof deck, insulation, and drywall for weeks. That’s why roof leak prevention is one of the smartest habits a homeowner can build.
Fixing a few shingles costs a fraction of replacing rotted sheathing and stained drywall. Routine care is simply cheaper than emergency repair.
This guide covers 11 practical steps for roof leak prevention, from inspections and gutters to flashing and attic airflow. You’ll also find a seasonal checklist, a DIY-versus-pro table, and answers to common questions.
What Is Roof Leak Prevention and Why Does It Matter?
Roof leak prevention is the ongoing practice of inspecting, cleaning, and repairing your roof so water never finds a way inside. It means catching small weaknesses, like a cracked seal or lifted shingle, before the next storm exploits them.
Most leaks begin in a few predictable places:
- Damaged or missing shingles
- Failing flashing around chimneys, vents, and skylights
- Clogged gutters that push water under the roof edge
- Worn sealant around roof penetrations
- Poor attic ventilation that causes condensation
A good rule of thumb is that leaks appear wherever the roof changes direction or gets interrupted. Solid roof leak prevention focuses on those weak points first. Left alone, a slow drip can lead to mold, rotted framing, and ruined insulation, so prevent water damage from roof leaks early rather than paying for it later.
How Often Should You Schedule a Roof Inspection?
Inspect your roof at least twice a year, ideally in spring and fall, and again after major storms, hail, or high winds. A regular roof inspection catches small defects early and anchors any effective roof leak prevention plan.
Way 1: Inspect twice a year. Start from the ground with binoculars. Look for curled, cracked, or missing shingles, sagging areas, and granules collecting in gutters.
Way 2: Check the attic after severe weather. Look for daylight through the roof deck, damp insulation, or dark stains on the underside of the sheathing.
For safety, avoid climbing steep or wet roofs. When in doubt, hire a licensed roofer. This seasonal roof inspection checklist keeps your roof leak prevention efforts on schedule:
| Season | What to Check | Why It Matters |
|---|---|---|
| Spring | Shingles, flashing, gutters after winter | Freeze-thaw cycles can loosen materials |
| Summer | Sealant, attic airflow, algae growth | Heat and sun wear down sealants and shingles |
| Fall | Gutters, debris, overhanging branches | Clears drainage paths before heavy rain or snow |
| Winter | Ice dams, attic condensation, ceiling stains | Spots problems hidden under snow |
Improve Roof Drainage for Stronger Roof Leak Prevention
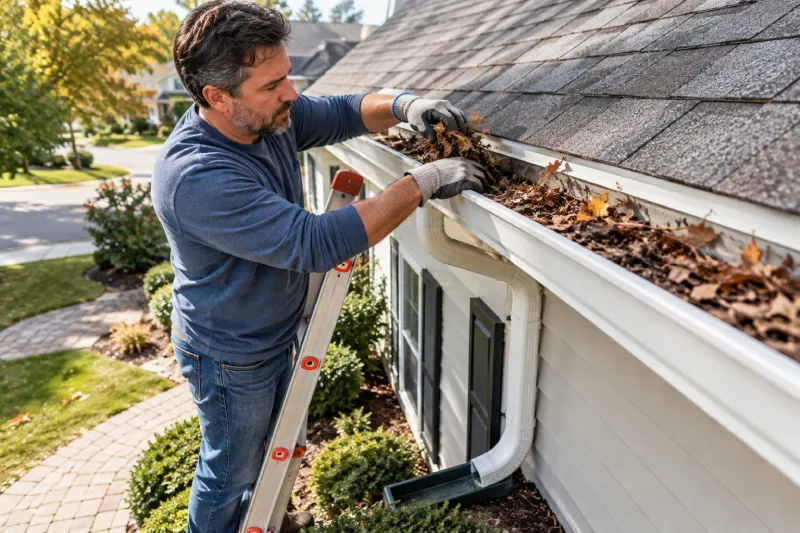
Gutter maintenance is unglamorous, yet it ranks among the most effective roof leak prevention tips available. When gutters clog, water backs up under the shingle edges and soaks the fascia and roof deck.
Way 3: Clean gutters regularly
Clear them at least twice a year, and more often if trees hang over your house. Flush them with a hose afterward to confirm water flows freely.
Way 4: Check downspouts and roof drainage
Make sure downspouts release water several feet from the foundation. On flat or low-slope roofs, watch for ponding water, which strains seams and membranes over time.
Gutter guards reduce cleaning but don’t eliminate it, though they can be worthwhile in a yard full of trees. Reliable roof drainage also protects your fascia, siding, and foundation, so this step pays off well beyond roof leak prevention.
Shingle Maintenance: Fix Small Problems Before They Spread
Asphalt shingles wear down from sun, wind, and temperature swings. Practical roof leak prevention means replacing damaged shingles promptly rather than waiting for the next storm.
Way 5: Replace damaged shingles quickly
On a low-pitch, dry roof, a small repair is manageable:
- Gently lift the tabs above the damaged shingle and remove the nails.
- Slide out the damaged piece.
- Slide in a matching shingle and nail it into place.
- Seal the tab with roofing cement.
Steep pitches are best left to professionals.
Way 6: Remove moss and algae carefully
Use a soft brush or a roof-safe cleaning solution. One common mistake is pressure washing, which strips protective granules and shortens roof longevity. Ignoring moss also undermines roof leak prevention, since it holds moisture against the surface.
Roof Flashing Maintenance: The Most Overlooked Leak Point
Flashing is thin metal, usually aluminum or galvanized steel, that seals joints around chimneys, vents, skylights, and walls. Because it sits at transitions, it’s a top source of leaks, and roof leak prevention often starts here.
Way 7: Inspect flashing for rust and gaps
Look for rust, bent edges, lifted sections, and dried caulk. Even a tiny gap can channel water into the attic during wind-driven rain.
Way 8: Reseal roof penetrations
Rubber pipe boots often crack before the shingles around them do. Replace cracked boots and refresh sealant with a compatible product.
One common mistake is smearing roofing cement over failing flashing. It hides the problem for a season and complicates the real fix. For best results with roof flashing maintenance, replace worn pieces instead of patching over them. That approach makes roof leak prevention more durable and more cost-effective.
How Do You Protect Your Roof From Trees and Debris?
Keep branches trimmed so they don’t touch or hang over the roof, and clear debris from valleys and flat sections regularly. Leaves trap moisture, branches scrape shingles in wind, and falling limbs can puncture roofing.
Way 9: Trim trees and clear debris
Treat tree trimming as part of roof leak prevention, not just landscaping. Use a soft broom or leaf blower on low roofs, and hire a professional arborist for large limbs or anything near power lines.
This kind of roof damage prevention also reduces clogged gutters, which ties back to your drainage plan. After heavy storms, walk around the house and look for debris, dented gutters, or displaced shingles.
Why Does Attic Ventilation Matter for Roof Leaks?
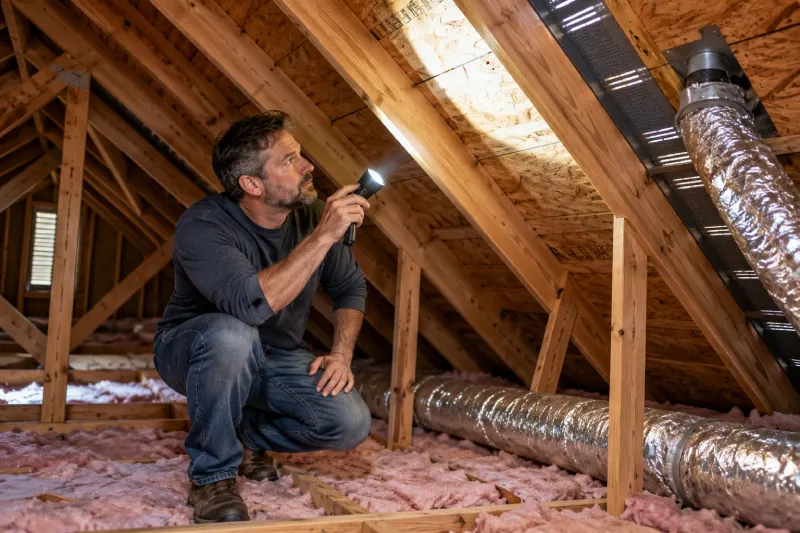
Not every leak comes from outside. Warm, moist indoor air that reaches a cold roof deck can condense, and the resulting moisture looks exactly like a leak. Balanced intake and exhaust ventilation keeps the deck dry, which supports roof leak prevention year-round.
Way 10: Improve attic ventilation and insulation
- Make sure insulation isn’t blocking soffit vents.
- Vent bathroom and kitchen exhaust fans outdoors, never into the attic.
- Seal air leaks around attic hatches and recessed lights.
In cold climates, poor ventilation also contributes to ice dams. Requirements vary by climate and local building code, so ask a local professional what suits your home. Think of this as roof leak prevention that may also improve comfort and energy efficiency.
Roof Leak Prevention on a Budget: DIY Tasks vs. Professional Help
Way 11: Know when to call a pro and keep records. Many upkeep tasks are DIY-friendly, but some involve height, steep pitches, or specialized materials. This table helps you decide:
| Task | DIY-Friendly? | Difficulty | Best Handled By |
|---|---|---|---|
| Gutter cleaning | Yes | Easy | Homeowner |
| Ground-level inspection | Yes | Easy | Homeowner |
| Replacing a few shingles | Sometimes | Moderate | Homeowner (low pitch) or roofer |
| Flashing replacement | Rarely | Hard | Roofer |
| Chimney or skylight sealing | Rarely | Hard | Roofer |
| Ventilation upgrades | Sometimes | Moderate to hard | Roofer or insulation contractor |
Costs vary widely by region, roof size, and materials, so request written estimates from two or three licensed, insured roofers. Keep photos, receipts, and inspection notes for warranty and insurance conversations. A practical approach is to store everything in one folder. Smart roof leak prevention combines homeowner habits with professional expertise.
Frequently Asked Questions
FAQ 1: What is the best way to stop roof leaks before they start?
The best approach is consistent roof leak prevention: inspect twice a year, keep gutters clear, repair damaged shingles quickly, and maintain flashing. Add attic checks and tree trimming to close the remaining gaps.
FAQ 2: How much does a roof inspection cost?
Pricing varies by region, roof size, and company. Some roofers include inspections with estimates, while others charge a fee. Ask what the inspection covers and whether you’ll receive a written report with photos.
FAQ 3: How long does a roof last with regular maintenance?
It depends on the material and climate. Asphalt shingles often last around 20 years or more, and metal roofing can last longer. Consistent care supports roof longevity by keeping small problems from becoming structural ones.
FAQ 4: Can I handle roof leak prevention myself?
Yes, for basics like gutter cleaning, ground-level inspections, and debris removal. Leave steep, wet, or high roofs, flashing replacement, and chimney work to licensed professionals.
FAQ 5: What are the early warning signs of a roof leak?
Watch for water stains on ceilings, peeling paint, musty odors, damp insulation, curled or missing shingles, and granules in gutters. If you notice any of these, schedule a professional inspection promptly.
Final Thoughts: Make Roof Leak Prevention a Habit
The most expensive leak is usually the one nobody noticed. The 11 steps above share a simple idea: find small problems early, keep water moving off the roof, and call a professional when a job is beyond your comfort level.
Roof leak prevention works best as a routine, not a reaction. Put your seasonal checks on the calendar and keep records of every repair.
Start this weekend. Walk the perimeter, check your gutters, and book a professional roof inspection if your roof is older or has taken a beating from recent storms. Make roof leak prevention part of your yearly home care, and your roof will reward you for years.