
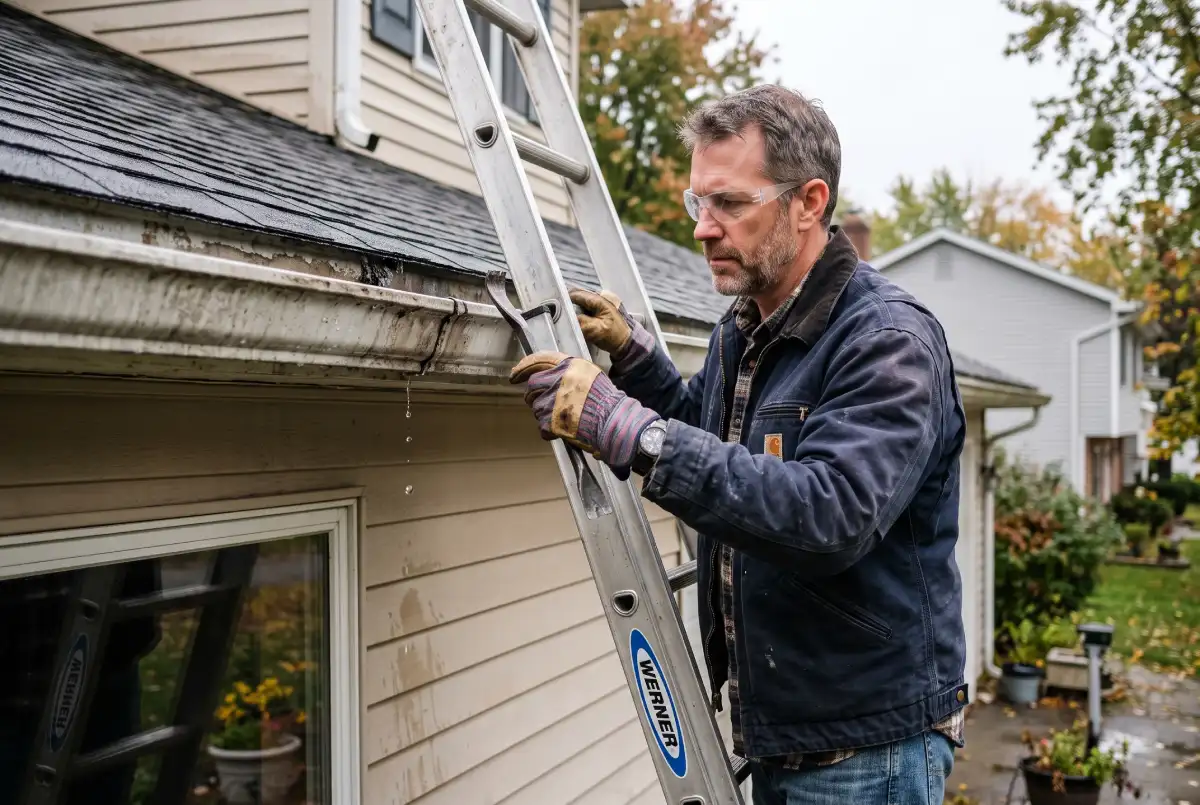
A small drip from your gutters can quickly turn into water damage along the foundation, fascia, or landscaping. Effective gutter leak repair stops the problem early and protects your home from costly moisture issues. Homeowners across the USA face this challenge after heavy rain, especially when seams, joints, or end caps fail. This guide walks through practical causes, step-by-step fixes, costs, and long-term prevention so you can handle most issues yourself or know when to call help.
Whether you notice water streaks on the siding or pooling near the downspouts, timely gutter leak repair restores proper drainage. The following sections cover identification, materials, methods, and maintenance strategies that keep leaks from returning season after season.
What Causes Gutter Leaks and Why They Keep Coming Back
Gutter water leaks usually start at weak points. Debris buildup creates overflow that forces water under the edges. Temperature swings expand and contract metal or vinyl, opening seams. Loose fasteners or improper pitch also send water over the sides instead of into the downspouts.
Common gutter problems include cracked sealant, separated joints, and damaged hangers. Leaking gutter joints are especially frequent on older aluminum systems. When the original caulk dries out, water finds the gap. End caps can loosen after years of expansion. Downspout connections often leak where the elbow meets the main trough.
Understanding these triggers helps you choose the right gutter leak repair approach. Ignoring early signs leads to repeated failures because the underlying stress remains. A practical approach is to inspect after every major storm and clear leaves before they pack into the troughs.
How to Spot the Signs of a Leaking Gutter
Look for water stains on exterior walls, damp spots under the eaves, or eroded soil near the foundation. During rain, watch for streams coming from seams or joints rather than flowing cleanly into the downspouts. After the storm, check for standing water in the gutters themselves.
Gutter leaks at seams often show as dark lines or mineral deposits. Feel along the back of the gutter for moisture. Inside the attic, watch for damp insulation near the roof edge. These clues tell you exactly where to focus your gutter leak repair efforts.
One common mistake is assuming overflow is only a clog problem. Sometimes the pitch is wrong or a section has sagged. Measure the slope with a level. Gutters should drop about one-quarter inch every ten feet toward the downspout. Correcting pitch during gutter leak repair prevents future issues.
DIY Gutter Leak Repair: Step-by-Step Methods That Work

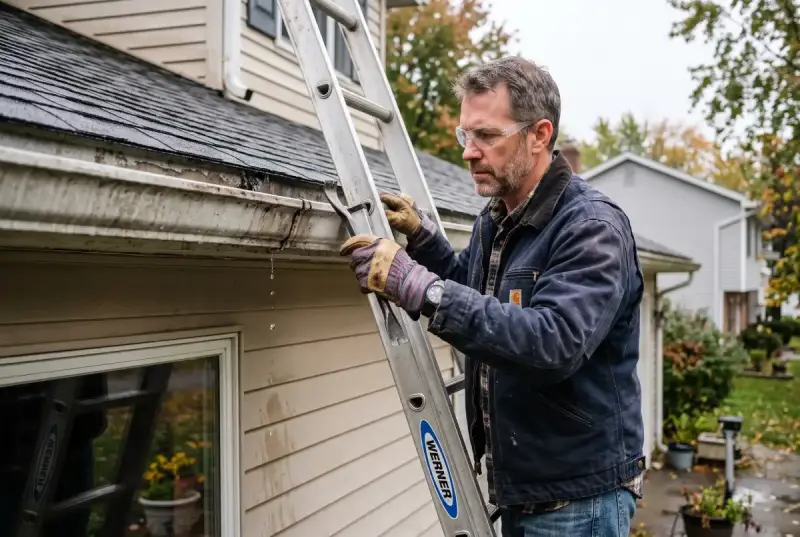
Many homeowners successfully handle basic gutter leak repair with simple tools. Safety comes first. Use a sturdy ladder on level ground and have a helper steady it. Wear gloves and eye protection.
Tools and Materials You Will Need
- Wire brush or sandpaper
- Gutter sealant or silicone caulk rated for exterior use
- Roofing cement or specialized gutter repair tape
- Sheet metal screws or rivets
- Replacement end caps or connectors if needed
Start by cleaning the area thoroughly. Remove all debris, old caulk, and rust. Dry the surface completely. For small holes or cracks, apply a quality gutter sealant for leaks in a continuous bead and smooth it with a finger or putty knife. Allow full curing time according to the product label before the next rain.
For larger gaps, cut a patch of aluminum flashing, apply sealant underneath, and secure it with screws. This method works well for damaged gutter repair on metal systems. Vinyl gutters may need a compatible plastic patch or new section. A good rule of thumb is to test the repair with a garden hose before relying on it during a storm.
DIY gutter leak repair is realistic for seams, small holes, and end caps. Complex sagging or extensive corrosion usually requires professional help.
Choosing the Best Gutter Sealant for Leaks
Not every caulk performs the same outdoors. Look for products labeled as gutter sealant, roofing cement, or polyurethane outdoor sealant. These stay flexible through freeze-thaw cycles common across much of the USA.
Silicone works for clean, dry metal but can be hard to paint. Asphalt-based roofing cement adheres well to older systems and fills larger voids. Specialty gutter repair tapes offer a clean, fast option for temporary or long-term sealing.
Apply sealant only on a dry day when temperatures stay above the product’s minimum. Over-application creates mess and does not improve performance. Wipe excess immediately. For best results, combine sealant with mechanical fasteners on high-stress joints.
Repairing Leaking Gutter Joints, Seams, and Connections
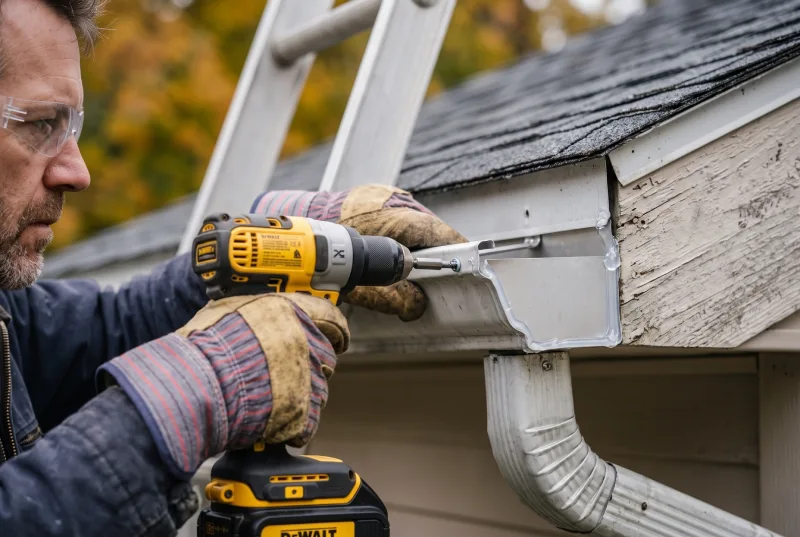
Leaking gutter joints are the most frequent failure point. Disconnect the overlapping sections if possible. Clean both surfaces, apply a generous bead of sealant, and reassemble with rivets or screws for added strength. Many modern systems use snap connectors that can be sealed the same way.
Gutter seam repair follows the same process. Run a continuous line of sealant along the entire seam and press the metal firmly together. For vinyl, use solvent cement designed for the material.
Gutter end cap leak problems usually stem from failed factory sealant. Pry the end cap off carefully, clean the trough end, apply fresh sealant, and press the cap back into place. Secure with a couple of short screws if the design allows.
Gutter downspout leak issues appear at the outlet or elbows. Tighten or replace the outlet flange, then seal the connection. Make sure the downspout is firmly attached so wind does not pull it loose.
Gutter Leak Repair Cost: DIY Versus Professional Options
DIY materials for basic gutter leak repair typically run $15 to $50 for sealant, tape, and fasteners. A full section replacement kit costs more but still stays under $100 for most homes.
Professional gutter leak repair usually ranges from $150 to $400 for minor seam and joint work. Extensive damage, height access, or full system realignment can push the price higher. Factors that influence cost include gutter material, number of stories, and local labor rates.
| Repair Type | Typical DIY Cost | Typical Pro Cost | Difficulty | Best For |
|---|---|---|---|---|
| Small seam or hole | $15–$30 | $150–$250 | Easy | Quick fixes |
| Joint or end cap | $20–$40 | $200–$300 | Moderate | Recurring joint leaks |
| Downspout connection | $25–$50 | $175–$350 | Moderate | Water backup issues |
| Section replacement | $50–$100 | $300–$600 | Hard | Corroded or cracked runs |
Gutter repair vs replacement becomes the key decision when more than one-third of the system shows damage or the pitch is badly off. In those cases, full replacement often proves more economical long term.
When Professional Gutter Repair Makes Sense
Call a pro if you are uncomfortable on ladders, the gutters sit more than two stories high, or the damage involves structural fascia boards. Professionals bring the right equipment, matching materials, and experience to correct pitch and secure hangers properly.
Professional gutter repair also includes warranty coverage on labor and materials in many cases. Ask about experience with your specific gutter type—aluminum, copper, steel, or vinyl. A reputable contractor will inspect the entire system rather than just patching the obvious leak.
Gutter Leak Prevention and Long-Term Maintenance Tips
The most effective gutter leak repair is the one you never need again. Clean gutters at least twice a year, more often if large trees hang over the roof. Install quality gutter guards if debris is constant, but still check underneath them periodically.
Confirm hangers are secure every spring. Tighten loose ones and replace missing fasteners. Keep the pitch consistent so water flows freely. Trim tree branches that drop leaves or needles directly into the troughs.
After any gutter leak repair, recheck the sealed areas after the first heavy rain. Touch up sealant if needed. These simple rain gutter maintenance habits dramatically reduce the chance of recurring problems.
Frequently Asked Questions
FAQ 1: How do you perform a basic gutter leak repair at home?Clean the area, dry it thoroughly, apply exterior-rated gutter sealant, and smooth the bead. For larger gaps add a metal patch secured with screws. Test with a hose after the product cures.
FAQ 2: What is the average gutter leak repair cost for a typical home?
Simple DIY fixes cost under $50 in materials. Professional work for seams and joints usually falls between $150 and $400 depending on access and extent of damage.
FAQ 3: Can I use regular silicone for gutter seam repair?
Exterior-grade silicone works on clean metal, but specialized gutter sealant or polyurethane products handle expansion and UV exposure better over multiple seasons.
FAQ 4: How long does a typical gutter leak repair last?
A well-executed seal with quality materials and proper surface preparation often lasts five to ten years or longer when combined with regular cleaning and inspection.
FAQ 5: When should I choose replacement over gutter leak repair?
If multiple sections are corroded, the pitch cannot be corrected, or more than one-third of the system fails, full replacement usually provides better long-term value and performance.
Consistent attention to drainage keeps water moving away from your home and protects the structure underneath. Address small problems early, use the right materials, and maintain the system seasonally. With the methods outlined here, most homeowners can complete effective gutter leak repair and enjoy dry foundations and walls for years to come. Inspect your gutters this weekend and take the first step toward reliable protection.