

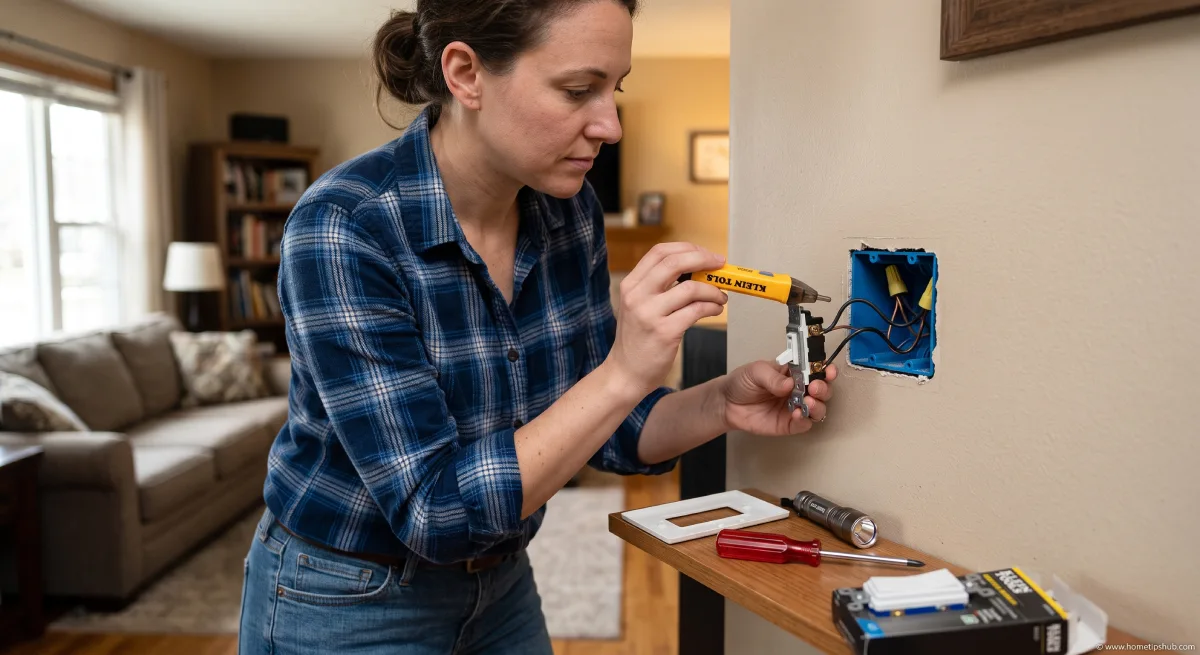
Flipping a switch and watching the lights come on feels simple — until the switch stops working and you’re staring at a tangle of wires behind the wall plate. If you’ve ever wondered how to wire a light switch yourself instead of paying an electrician a call-out fee for a 20-minute job, you’re in the right place.
This guide walks you through exactly how to wire a light switch, step by step, whether you’re replacing an old switch, installing a new one, or upgrading to a three-way dimmer switch wiring diagram setup for a hallway or staircase. We’ll cover the tools you need, the safety precautions that matter most, and how to troubleshoot common problems so your new switch works the first time.
By the end of this article, you’ll understand:
- The basic anatomy of a switch circuit
- How wire switch connections differ between single-pole and three-way setups
- A step-by-step process for installing a single-pole switch
- How to read a light switch wiring diagram like a pro
- Tips for installing a three-way dimmer switch without frying your new fixture
- Common mistakes and how to avoid them
Whether this is your first attempt at wiring a light switch or you’ve done a few small repairs before, this guide breaks the process into manageable, repeatable steps. Let’s get started.
Why Learning How to Wire a Light Switch Is a Useful Skill
Every homeowner in the U.S. deals with a faulty switch at some point — a flickering light, a switch that feels loose, or an outdated toggle that clashes with a remodel. Knowing how to wire a light switch saves you money, saves you time waiting for a technician, and gives you the confidence to handle small electrical repairs safely.
That said, electrical work isn’t something to rush. The National Electrical Code (NEC) sets safety standards that residential wiring must follow, and local building codes can vary by state and municipality. If you’re ever unsure, or if your project involves rewiring circuits (not just swapping a switch), it’s worth consulting a licensed electrician. This guide is intended for straightforward switch replacements and additions in circuits that are already properly wired.
Safety First: Before You Touch Any Wire
No matter how simple the job looks, always:
- Turn off the power at the breaker box, not just at the switch.
- Test the wires with a non-contact voltage tester to confirm the circuit is dead.
- Avoid working on wiring with wet hands or in a damp area.
- Keep a flashlight or headlamp handy since you’ll be working without power.
Skipping these steps is the single biggest reason DIY switch installations go wrong. A few extra minutes of caution prevents shocks, shorts, and damaged fixtures.
Tools and Materials You’ll Need
Before diving into how to wire a light switch, gather these basics so you’re not running to the hardware store mid-project:
| Tool/Material | Purpose |
|---|---|
| Non-contact voltage tester | Confirms power is off before you touch wires |
| Screwdriver set (flathead + Phillips) | Removes switch plate and mounting screws |
| Wire strippers | Cleanly strips wire insulation without nicking copper |
| Needle-nose pliers | Bends wire into hooks for screw terminals |
| Replacement switch (single-pole, three-way, or dimmer) | The new component you’re installing |
| Wire nuts | Secures spliced wire connections |
| Electrical tape | Adds insulation over connections |
| Flashlight or headlamp | Provides light once power is cut |
Having the right tools laid out ahead of time makes the entire process of wiring a light switch faster and reduces the temptation to improvise with the wrong hardware — something that often leads to loose connections down the road. It also means you won’t have to stop halfway through installing a switch just to search the garage for a missing wire nut.
Step-by-Step: How to Wire a Light Switch (Single-Pole)

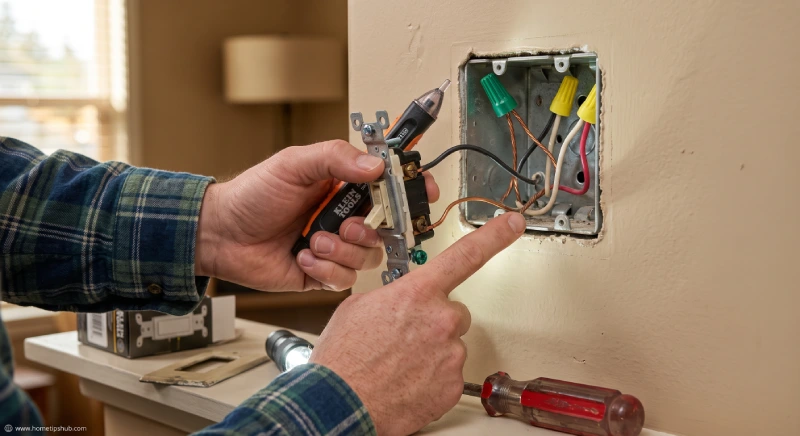
A single-pole switch is the most common type in U.S. homes — it controls a light or outlet from just one location. Here’s how wire switch connections work for this basic setup.
Step 1: Cut the Power
Locate your home’s breaker panel and switch off the breaker feeding the circuit. Confirm with your voltage tester at the switch box before proceeding. This is the non-negotiable first step in any light switch wiring project.
Step 2: Remove the Old Switch
Unscrew the wall plate, then remove the mounting screws holding the switch in the electrical box. Gently pull the switch out, but don’t disconnect any wires yet — take a photo first. This reference picture becomes invaluable later if you’re comparing your new light switch wiring diagram to the original setup.
Step 3: Identify the Wires
A typical single-pole switch box contains:
- A black (hot) wire
- A white (neutral) wire, often capped with a wire nut and not connected to the switch
- A bare copper or green (ground) wire
- Sometimes a red wire, if the switch controls part of an outlet
Step 4: Disconnect the Old Switch
Loosen the terminal screws or release the push-in connectors, then remove the old switch completely.
Step 5: Connect the New Switch
This is the core of how to wire a light switch correctly:
- Attach the black (hot) wire to one brass terminal.
- Attach the other black or hot wire to the second brass terminal.
- Connect the ground wire to the green terminal screw.
- If there’s a neutral wire, cap it separately unless your switch specifically requires a neutral connection (common with smart switches).
Step 6: Secure and Test
Gently fold the wires back into the box, screw the switch into place, and attach the wall plate. Restore power at the breaker and test the switch.
Step 7: Confirm Everything Works Properly
Flip the switch on and off a few times, and check that the light responds instantly without flickering or buzzing. If something seems off, cut the power again and recheck your connections. Following these seven steps in order is really the heart of how to wire a light switch correctly, whether you’re replacing an old toggle or installing a brand-new one.
Light Switch Wiring Diagram: Understanding the Basics
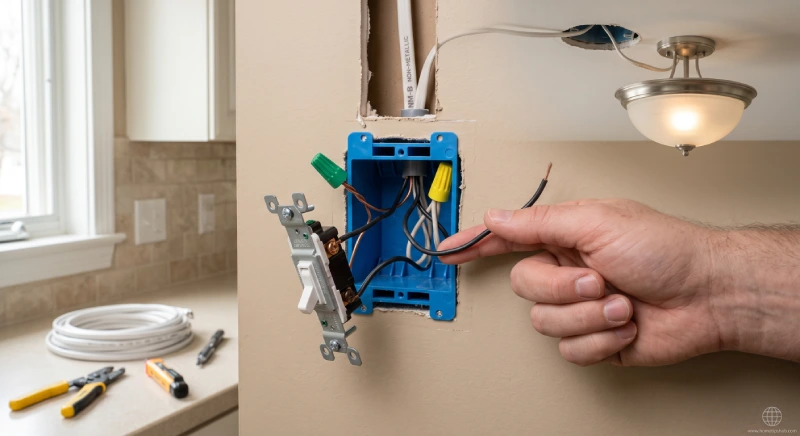
A light switch wiring diagram simplifies what’s happening behind the wall. For a single-pole switch, the diagram typically shows:
- Power source → black wire → switch terminal 1
- Switch terminal 2 → black wire → light fixture
- Ground wire connecting the box, switch, and fixture
Reading a light switch wiring diagram before you start prevents guesswork once the wall plate is off. Many switch packages include a simplified diagram on the back of the box, and it’s worth comparing that to what you see in your own wall. Keeping a light switch wiring diagram nearby as you work is one of the easiest ways to avoid mixing up wires halfway through the job.
Installing a Three-Way Dimmer Switch: Step-by-Step
Three-way switches let you control one light fixture from two different locations — think staircases or long hallways. Installing a three-way dimmer switch is slightly more involved than wiring a standard single-pole switch, but it’s still manageable for a confident DIYer who’s comfortable with the basics of how to wire a light switch.
How a Three-Way Circuit Differs
Unlike a single-pole switch, a three-way switch has three terminals instead of two:
- A common terminal (usually black or copper-colored, marked
- Two traveler terminals (usually brass-colored)
A three-way dimmer switch wiring diagram will show two traveler wires running between both switches, plus a common wire that connects to the power source or the fixture.
Steps for Installing a Three-Way Dimmer Switch
- Cut the power at the breaker and verify with your voltage tester.
- Remove both existing three-way switches, taking photos of each wiring configuration.
- Identify the common wire at each switch — it’s usually a different color from the travelers and connects to a darker terminal screw.
- Connect the common wire from your new dimmer to the COM terminal.
- Connect the two traveler wires to the remaining two terminals — orientation between the travelers doesn’t matter.
- Attach the ground wire to the green terminal.
- Repeat at the second switch location if you’re replacing both switches, using a standard three-way switch (not a second dimmer) unless the fixture supports multi-location dimming.
- Restore power and test from both switch locations.
Common Mistake to Avoid
The most frequent error when installing a three-way dimmer switch is confusing a traveler wire with the common wire. If you connect the common wire to a traveler terminal, the dimmer either won’t work or will only function from one location. Always double-check your three-way dimmer switch wiring diagram against the physical wires before finalizing connections. This one detail trips up more DIYers than any other step when installing a three-way dimmer switch, so take your time here.
Single-Pole vs. Three-Way Switch: Quick Comparison
| Feature | Single-Pole Switch | Three-Way Switch |
|---|---|---|
| Controls light from | One location | Two locations |
| Number of terminals | 2 (plus ground) | 3 (plus ground) |
| Common use case | Bedrooms, bathrooms, closets | Staircases, hallways, large rooms |
| Wiring complexity | Basic | Moderate |
| Dimmer compatibility | Widely compatible | Requires “3-way rated” dimmer |
Troubleshooting Common Light Switch Wiring Problems
Even with a careful approach to how to wire a light switch, issues sometimes crop up. Most problems trace back to a loose connection rather than a defective switch. Here’s a quick reference table for the most common symptoms.
| Symptom | Likely Cause | Fix |
|---|---|---|
| Switch does nothing | Breaker not fully on, or loose wire connection | Recheck breaker and tighten terminal screws |
| Light flickers | Loose neutral or hot connection | Turn off power and re-secure wires |
| Dimmer buzzes | Incompatible bulb (non-dimmable LED) | Replace with dimmable-rated bulbs |
| Three-way switch only works from one side | Common wire connected to traveler terminal | Recheck wiring against the diagram |
| Switch feels warm | Overloaded circuit or poor connection | Stop use and consult an electrician |
Frequently Asked Questions
Do I need to turn off the whole house to wire a light switch? No. You only need to shut off the specific breaker controlling that circuit. Use a voltage tester to confirm the wires are dead before touching them.
Can I install a dimmer switch on any light fixture?
Not always. Dimmers work best with dimmable-rated bulbs, particularly with LED lighting. Check your bulb packaging before installing a three-way dimmer switch or a standard dimmer.
What’s the difference between a single-pole and three-way switch?
A single-pole switch controls a light from one location, while a three-way switch (or pair of switches) controls a light from two separate locations, such as both ends of a staircase.
Is it legal to wire a light switch myself?
In most U.S. states, homeowners can legally perform basic electrical repairs like replacing a switch in their own home. However, some jurisdictions require permits for larger electrical projects, so check your local building codes if you’re unsure.
What if I don’t see a ground wire in my switch box?
Older homes sometimes lack a dedicated ground wire. In this case, use a switch that doesn’t require grounding, or consult an electrician about updating the wiring for safety.
Final Thoughts: Wiring a Light Switch With Confidence
Learning how to wire a light switch isn’t just about saving a service call — it’s a practical skill that pays off every time a switch wears out, a fixture gets upgraded, or you decide to add a three-way dimmer switch to a stairwell. With the right tools, a clear light switch wiring diagram, and a healthy respect for cutting the power first, most homeowners can handle this project safely in under an hour.
If your project involves anything beyond a simple swap — like adding new circuits, working with aluminum wiring, or dealing with a panel that feels outdated — it’s worth bringing in a licensed electrician to make sure everything meets code.
Ready to tackle your switch upgrade? Grab your voltage tester, double-check your breaker panel, and follow the steps above to wire your light switch safely and correctly the first time.