
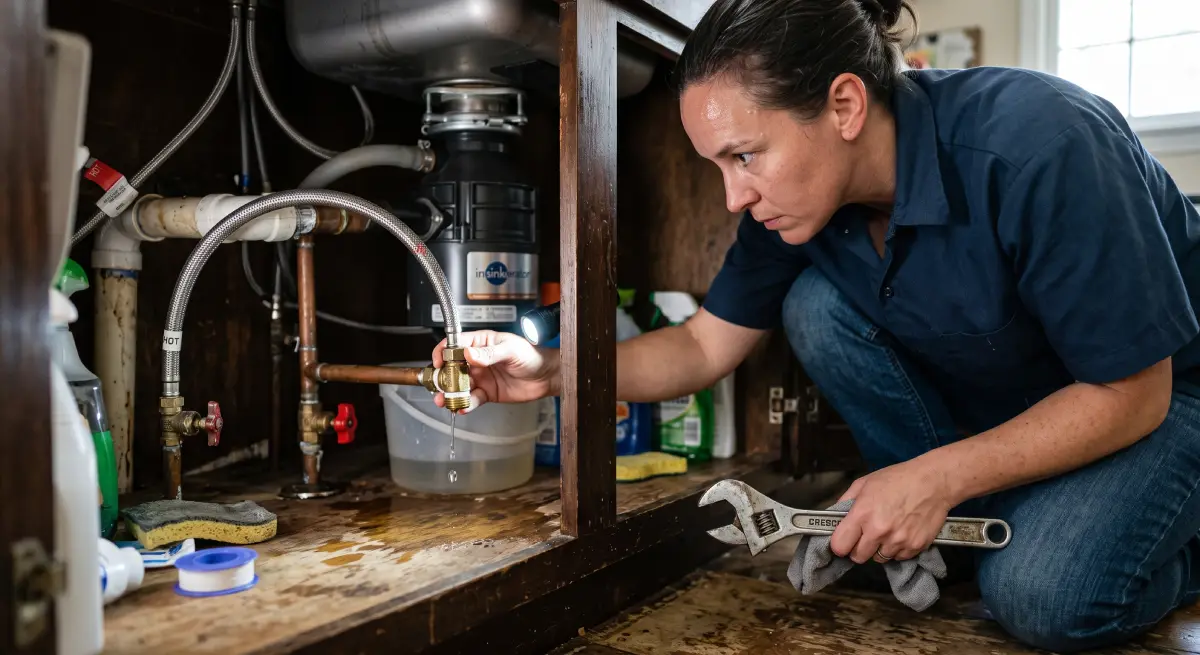
A small drip under the sink or behind a wall can quickly turn into expensive water damage if left unchecked. Leaking pipe joints rank among the most common household plumbing problems, and catching them early saves both money and stress. This guide walks through practical ways to identify, stop, and prevent leaking pipe joints so you can protect your home without unnecessary delays.
Whether the issue involves a threaded connection, compression fitting, or soldered joint, the right approach depends on the type of pipe, the severity of the leak, and whether you need a temporary fix or a lasting solution. Below you will find clear steps, material recommendations, and realistic expectations for DIY pipe joint repair.
Why Leaking Pipe Joints Happen in the First Place
Leaking pipe joints develop for several predictable reasons. Vibration from nearby appliances, temperature swings that expand and contract metal or plastic, and simple wear on seals all play a role. Over-tightening during installation can crack fittings, while under-tightening leaves gaps that allow water to escape. Corrosion, especially on older galvanized lines, weakens threads and creates paths for moisture.
In many homes, leaking pipe joints appear after a recent plumbing project or during seasonal pressure changes. Understanding the root cause helps you choose the correct repair method and avoid repeating the same problem. A practical approach is to inspect the joint carefully before applying any sealant or replacement parts.
How to Spot Water Leaking from Pipe Joints Early
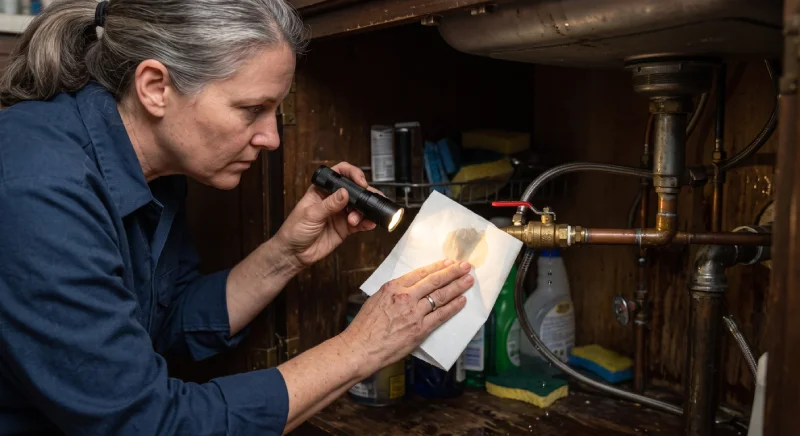
Early detection prevents hidden damage. Look for moisture stains on ceilings, walls, or cabinets near plumbing lines. A musty odor, warped flooring, or unexplained increases in the water bill often signal a slow leak. Feel around joints for dampness and listen for faint hissing when fixtures are off.
For plumbing leak detection in tight spaces, a flashlight and a dry paper towel work well. Press the towel against the joint and check for wet spots after a few minutes. Addressing leaking pipe joints at this stage usually requires only basic tools and materials rather than major reconstruction.
Temporary Fixes for Leaking Pipe Joints When You Need a Quick Stop
Sometimes you need to halt the water immediately while gathering supplies or waiting for a plumber. Temporary pipe leak repair options include waterproof repair tape, epoxy putty, and rubber clamps. Clean the area thoroughly, dry it as much as possible, and apply the product according to the package directions.
These methods buy time but rarely provide a permanent solution. One common mistake is relying on tape alone for high-pressure lines. For best results, shut off the water supply first and relieve pressure by opening a nearby faucet. Temporary measures work best on minor seepage from leaking pipe joints rather than active spraying leaks.
Permanent Pipe Leak Repair Options That Last
For lasting results, permanent pipe leak repair usually means replacing the worn fitting or resealing the connection properly. Threaded pipe joint leak situations often respond well to pipe dope or PTFE tape applied correctly. Compression fitting leak problems may require a new ferrule and nut. Soldering copper joints or using push-to-connect fittings offers reliable alternatives in many cases.
A good rule of thumb is to match the repair method to the pipe material. PVC, copper, PEX, and galvanized steel each demand specific techniques. Before choosing this option, confirm that the surrounding pipe is in good condition. Replacing a single joint on corroded pipe rarely solves the larger issue.
Step-by-Step Guide to Fixing Threaded and Compression Fittings
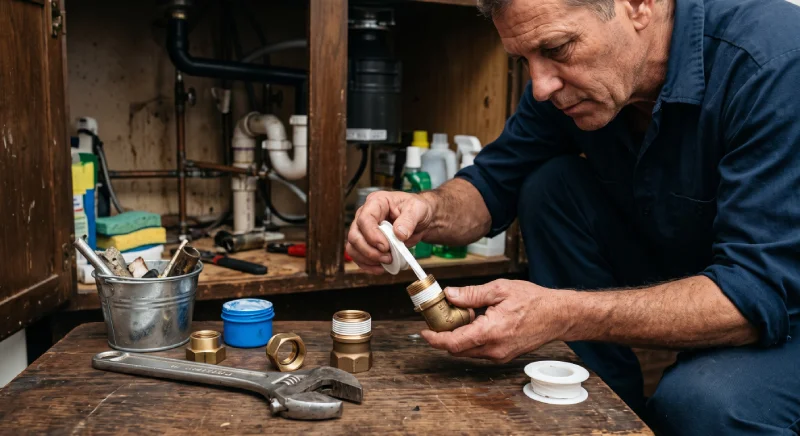
Follow these numbered steps for common DIY pipe joint repair scenarios:
- Shut off the main water supply and open a faucet to drain remaining water.
- Place a bucket under the joint and carefully loosen the connection.
- Inspect threads or the compression ring for damage.
- Clean all surfaces thoroughly.
- Apply the appropriate sealant or install a new ferrule.
- Reassemble the joint without over-tightening.
- Restore water pressure slowly and check for drips.
These steps address many cases of water leaking from pipe joint connections. Work carefully around older pipes that may be brittle. If the joint continues to leak after proper resealing, replacement becomes the safer path.
Choosing the Right Plumbing Joint Sealant and Materials
Selecting the correct product makes a noticeable difference. PTFE tape works well on most threaded metal connections when wrapped in the proper direction. Pipe joint compound, sometimes called pipe dope, fills microscopic gaps and resists vibration. For plastic pipes, use sealants rated specifically for that material to avoid chemical damage.
| Repair Method | Estimated Cost | Difficulty | Best For | Main Benefit |
|---|---|---|---|---|
| PTFE Tape | $5–10 | Easy | Threaded metal joints | Inexpensive and widely available |
| Pipe Joint Compound | $8–15 | Easy | High-vibration areas | Longer-lasting seal |
| Epoxy Putty | $10–20 | Moderate | Temporary or irregular surfaces | Quick application |
| Compression Fitting Replacement | $15–40 | Moderate | Soft copper or plastic | Reliable long-term fix |
| Push-to-Connect Fitting | $10–25 | Easy | DIY copper or PEX repairs | No soldering required |
This comparison helps match the solution to your specific leaking pipe joints situation. Always verify compatibility with your pipe type before purchasing.
Common Mistakes That Make Leaking Pipe Joints Worse
Several errors turn a simple fix into a bigger problem. Over-tightening threaded fittings cracks the material or strips the threads. Using the wrong sealant on plastic pipes can cause chemical breakdown. Ignoring the cause—such as excessive pressure or movement—means the leak returns quickly.
Another frequent issue occurs when homeowners apply sealant over dirty or wet surfaces. For best results, clean and dry the joint completely. If you are working with a small space under a sink or behind a wall, take extra time to protect surrounding finishes. These precautions keep minor leaking pipe joints from escalating into costly repairs.
When to Call a Professional for Plumbing Pipe Joint Repair
Not every leaking pipe joint belongs in the DIY category. If the leak sits inside a wall, ceiling, or foundation, professional access tools and experience become essential. High-pressure main lines, gas lines, and complex manifold systems also require licensed help in most areas.
A practical approach is to attempt simple accessible repairs first and then evaluate the results. Persistent moisture, multiple failing joints, or signs of mold indicate the need for expert assessment. Licensed plumbers can also pressure-test the system and identify hidden issues that homeowner tools often miss.
How to Prevent Future Leaking Pipe Joints
Prevention starts with careful installation and ongoing awareness. Avoid over-tightening new fittings, support long pipe runs to reduce stress, and insulate lines that experience temperature extremes. Periodically check accessible joints under sinks, behind toilets, and near water heaters.
Water pressure regulators help maintain consistent force and reduce strain on connections. When renovating, choose quality fittings rated for the intended use. These habits significantly lower the chance of new leaking pipe joints appearing over time.
FAQ Section
FAQ 1: What causes most leaking pipe joints in homes?
Temperature changes, vibration, improper installation torque, and age-related wear account for the majority of cases. Corrosion on metal pipes and sealant failure on older connections also contribute. Regular visual checks help catch problems before they grow.
FAQ 2: Can I fix a compression fitting leak myself?
Yes, many compression fitting leak situations respond to cleaning and replacing the ferrule and nut. Shut off the water, disassemble carefully, and reassemble without excessive force. If the pipe itself shows damage, replacement of that section is often wiser.
FAQ 3: How long do temporary pipe leak repairs usually last?
Temporary solutions such as repair tape or putty typically hold for days to a few weeks under normal household pressure. They are not designed as permanent pipe leak repair methods and should be followed by a proper fix as soon as practical.
FAQ 4: Is plumbing joint sealant enough for threaded pipe joint leak problems?
In many cases, correctly applied PTFE tape or pipe joint compound stops a threaded pipe joint leak effectively. Success depends on clean threads, proper wrap direction, and avoiding over-tightening. Severely damaged threads usually require a new fitting.
FAQ 5: What should I do if water keeps leaking from pipe joint after a repair?
Re-check the installation steps and ensure the correct materials were used. Persistent leaking pipe joints after proper work often indicate a deeper issue such as damaged pipe or excessive system pressure. At that point, professional evaluation is the safest next step.
Final Thoughts and Next Steps
Addressing leaking pipe joints promptly protects flooring, cabinetry, and structural materials from water damage that grows more expensive with time. Start with careful inspection, choose the repair method that matches the joint type, and follow the steps outlined above. When the situation exceeds basic DIY skills, calling a qualified plumber prevents further complications.
Take a few minutes this week to check the accessible joints in your home. Catching a small issue early remains the simplest way to keep plumbing systems reliable and your living space dry.