
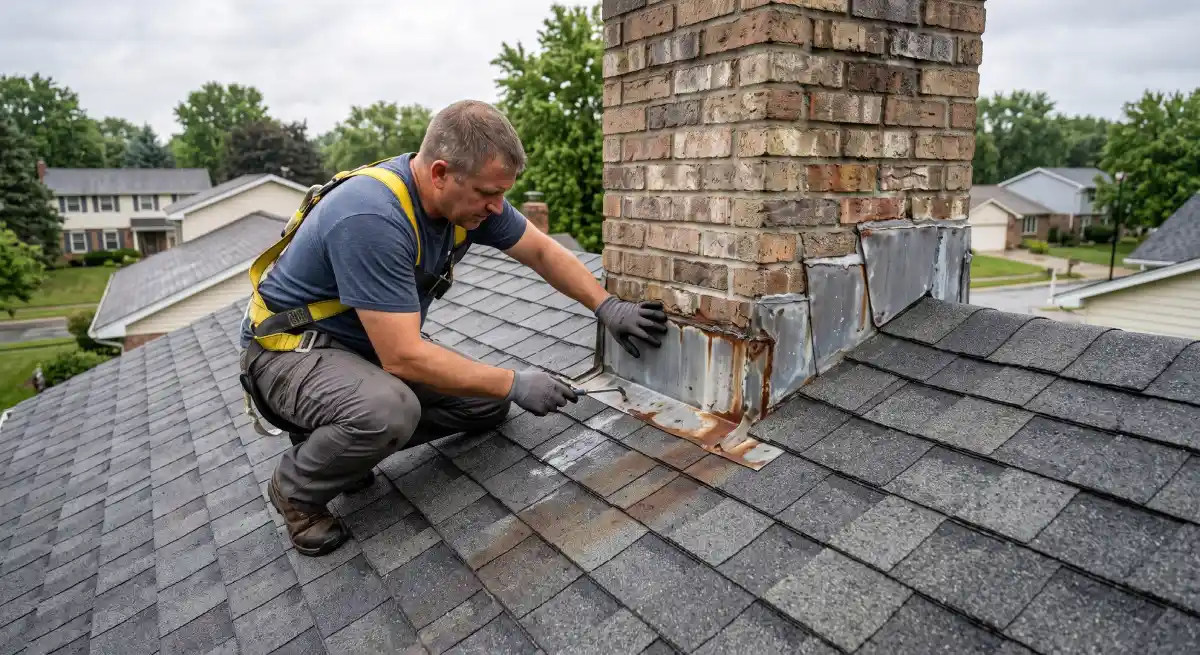
If water is showing up on your ceiling near the fireplace, or you’ve spotted rust streaks running down your chimney, there’s a good chance the flashing is to blame. Chimney flashing repair is one of the most common — and most misunderstood — roofing jobs homeowners deal with, and putting it off almost always makes the damage worse.
This guide walks through why chimney flashing fails, what it costs to fix, the materials and methods professionals use, and how to approach chimney flashing repair whether you’re hiring a contractor or tackling a small fix yourself. By the end, you’ll know exactly what a reliable repair looks like and how to keep your chimney watertight for years to come.
What Is Chimney Flashing Repair and Why It Matters
Flashing is the thin metal barrier — usually aluminum, copper, or galvanized steel — installed where your chimney meets the roofline. Its job is simple: keep water from seeping into the gap between the two surfaces. When that seal breaks down, chimney flashing repair becomes necessary to stop leaks before they reach your attic, insulation, or interior walls.
Ignoring damaged flashing rarely stays a small problem. Water that gets past a failing seal can rot roof decking, stain drywall, and even encourage mold growth inside wall cavities. A practical approach is to treat any flashing issue as a priority repair rather than something to “watch for now,” since moisture damage compounds quickly, especially through winter freeze-thaw cycles.
Chimney flashing repair also protects the structural integrity of the chimney itself. Persistent moisture can deteriorate mortar joints and brick over time, turning a simple flashing fix into a much larger masonry project. For most homes, addressing flashing issues early is far less expensive than repairing the water damage that follows.
Signs of Chimney Flashing Failure You Shouldn’t Ignore
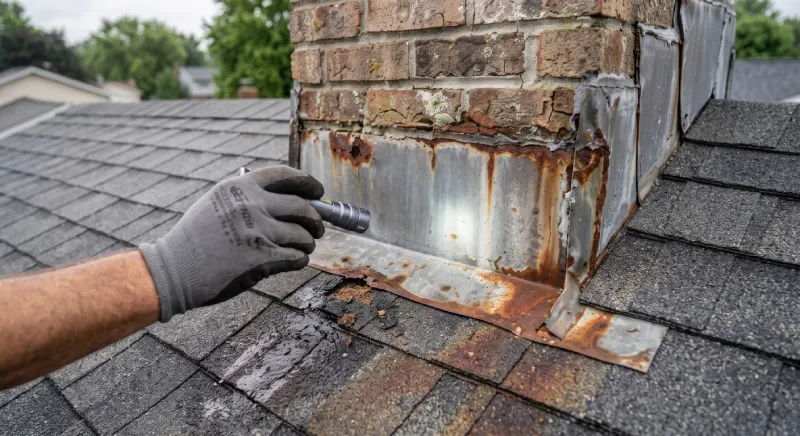
What are the warning signs of chimney flashing failure? The most common signs include water stains on ceilings or walls near the chimney, visible rust or gaps in the metal flashing, and damp or musty smells in the attic. Catching these early makes chimney flashing repair simpler and cheaper.
Look for these indicators during a routine inspection:
- Discolored ceiling patches or peeling paint near the chimney
- Rust streaks running down brick or siding
- Visible daylight or gaps between the flashing and the roof
- Loose, bent, or missing flashing pieces
- Mold or mildew smell in the attic after rain
One common mistake homeowners make is assuming a small stain will dry out and disappear on its own. In reality, that stain usually signals an ongoing leak that will keep returning until proper chimney flashing repair is performed.
Common Causes of Chimney Flashing Leaks
Why does chimney flashing leak? Chimney flashing leak causes typically fall into a few categories: age-related metal fatigue, poor original installation, sealant breakdown, and physical damage from weather or falling debris.
- Age and corrosion: Metal flashing weakens over 15–20 years, especially in humid or coastal climates.
- Poor installation: Flashing installed without proper layering under shingles is prone to early failure.
- Sealant deterioration: Caulk and roofing cement dry out, crack, and shrink with sun exposure.
- Storm damage: Hail, wind-driven debris, and heavy snow loads can bend or dislodge flashing.
- Thermal movement: Chimneys and roofs expand and contract at different rates, gradually loosening seams.
Understanding the root cause matters because it determines whether a quick sealant refresh will hold or whether full chimney flashing repair is the smarter long-term investment.
Chimney Flashing Repair Cost: What to Expect
How much does chimney flashing repair cost? Most homeowners pay between $200 and $600 for standard chimney flashing repair, while a full chimney flashing replacement typically runs $500 to $1,500 depending on chimney size, material, and roof pitch.
Several factors influence the final price:
| Factor | Typical Impact on Cost |
|---|---|
| Flashing material (aluminum, copper, steel) | Copper costs more but lasts longer |
| Chimney size and roof pitch | Steeper or larger roofs raise labor cost |
| Extent of damage | Full replacement costs more than spot repair |
| Accessibility | Multi-story homes may require extra equipment |
| Underlying roof damage | Rotted decking adds to the total cost |
For best results, get at least two or three quotes before committing, since pricing can vary significantly between chimney flashing contractors in the same area. A noticeably low bid is worth questioning — it may signal shortcuts like skipping counter flashing or reusing old step flashing pieces.
Chimney Flashing Materials and Repair Methods
Chimney flashing materials vary in cost, durability, and appearance, so choosing the right one matters for a lasting chimney flashing repair.
- Aluminum: Affordable and lightweight, though it can corrode when in contact with masonry mortar.
- Galvanized steel: Durable and budget-friendly, but prone to rust over time if the coating wears down.
- Copper: The most durable and long-lasting option, often lasting 50+ years, though it comes at a higher price point.
- Lead: Highly malleable and durable, though less common due to environmental handling concerns.
There are also different flashing repair methods depending on the type installed. Step flashing uses overlapping L-shaped pieces along the roofline, while counter flashing is embedded into the mortar joints to cover the step flashing and shed water outward. Chimney step flashing repair and chimney counter flashing repair often need to be addressed together, since damage to one frequently affects the other’s seal.
Before choosing this option, confirm which flashing type your chimney currently has — mixing incompatible metals (like aluminum against copper) can trigger galvanic corrosion and shorten the life of any repair.
How to Repair Chimney Flashing: Step-by-Step
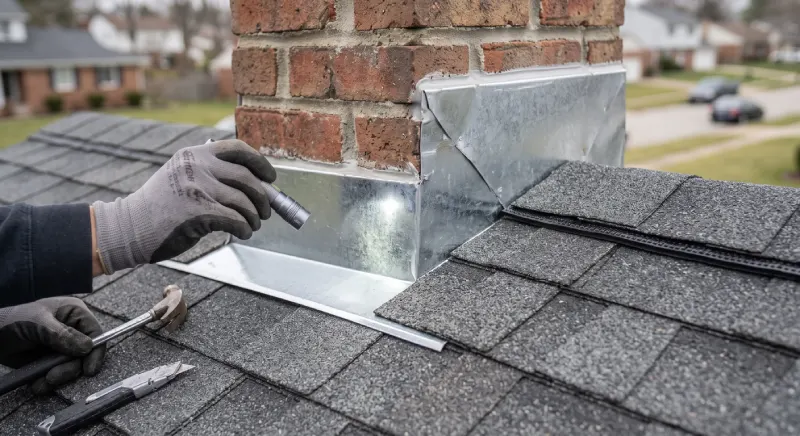
How do you repair chimney flashing? The process generally involves inspecting the damage, removing failed sections, cleaning the area, installing new flashing, and resealing the joints with quality flashing sealant.
- Inspect the entire flashing system. Check step flashing, counter flashing, and the saddle or cricket (on wider chimneys) for gaps, rust, or separation.
- Remove damaged sections carefully. Pry up shingles as needed to access flashing without tearing the roofing material.
- Clean the surface. Remove old caulk, debris, and rust before installing new pieces.
- Cut and fit new flashing. Measure twice; flashing needs a slight overlap at each seam to shed water properly.
- Secure the flashing. Use roofing nails placed high enough to stay covered by shingles, avoiding face-nailing that leaves holes exposed.
- Apply flashing sealant. A high-quality, flexible sealant fills small gaps and reinforces seams without becoming brittle.
- Test and inspect. Run water over the repaired area, or wait for the next rain, to confirm the fix holds.
Chimney flashing repair is one of those jobs that looks simple but punishes shortcuts. If you’re working with a small chimney and minor rust, a DIY sealant fix might hold for a season. For larger gaps, cracked mortar, or extensive corrosion, professional chimney flashing repair is the safer route, especially given the risks of working on a roof.
Chimney Flashing Replacement vs. Repair: Which Do You Need?
Not every issue calls for full chimney flashing replacement. Deciding between chimney flashing repair and replacement usually comes down to the extent and age of the damage.
| Situation | Recommended Approach | Difficulty | Best For |
|---|---|---|---|
| Small rust spots, minor gaps | Chimney flashing repair (sealant/patch) | Easy–Moderate | Homes under 10 years old |
| Cracked or shrinking sealant only | Reseal existing flashing | Easy | Recent, otherwise sound flashing |
| Widespread corrosion or bent metal | Full chimney flashing replacement | Moderate–High | Flashing older than 15–20 years |
| Chimney flashing installation was done poorly originally | Full replacement with correct layering | High | Recurring leak history |
A good rule of thumb: if the flashing is under 10 years old and damage is isolated, targeted chimney flashing repair usually makes sense. If leaks keep recurring despite repairs, that’s a strong signal the original chimney flashing installation had flaws that only full replacement will resolve.
Chimney Flashing Maintenance and Long-Term Waterproofing
Ongoing maintenance is what separates a chimney flashing repair that lasts from one that fails again within a year or two.
- Schedule a chimney flashing inspection annually, ideally before the rainy or snowy season begins.
- Clear debris, leaves, and moss buildup around the base of the chimney.
- Reapply flashing sealant every few years, since even quality products degrade under UV exposure.
- Check attic insulation and rafters for early moisture signs after major storms.
- Keep gutters clear so water doesn’t back up toward the chimney base.
Chimney flashing waterproofing isn’t a one-time task — it’s an ongoing part of roof maintenance. Homeowners who schedule regular checks typically avoid the more expensive repairs that come from leaks left unnoticed for months.
Frequently Asked Questions
FAQ 1: How long does chimney flashing repair typically last?
A properly done chimney flashing repair using quality materials can last 15–20 years or longer, especially with copper flashing. Sealant-only repairs tend to need refreshing every 3–5 years, since caulking breaks down faster than metal.
FAQ 2: Can I do chimney flashing repair myself?
Minor sealant touch-ups are manageable for comfortable DIYers with proper roof safety equipment. However, replacing step or counter flashing involves working with roofing materials and heights, so hiring a licensed contractor is recommended for anything beyond small patch jobs.
FAQ 3: What is the difference between step flashing and counter flashing?
Step flashing consists of overlapping metal pieces along the roof slope, while counter flashing is embedded into the chimney’s mortar joints to cover the step flashing from above. Both work together, and damage to either usually requires attention during a full chimney flashing repair.
FAQ 4: How do I know if I need chimney flashing repair or a full roof repair?
If leaks appear only near the chimney and the rest of the roof is dry, the flashing is usually the culprit. A roofing professional can confirm this during an inspection by checking for isolated versus widespread water intrusion.
FAQ 5: Does homeowners insurance cover chimney flashing repair?
Coverage depends on the cause. Storm or wind damage is often covered, while gradual wear from age typically isn’t. Check your specific policy and document the damage with photos before filing a claim.
Final Thoughts
Chimney flashing repair isn’t glamorous, but it’s one of the most cost-effective ways to protect your roof, attic, and interior walls from water damage. Whether you’re dealing with a small rust spot or planning a full replacement, catching problems early keeps both the repair scope and the bill manageable.
If you’ve noticed stains, rust, or drafts near your chimney, don’t wait for the next storm to find out how bad it’s gotten. Schedule a chimney flashing inspection with a qualified roofing contractor, get a clear repair estimate, and get it fixed before minor damage turns into a much costlier project.