
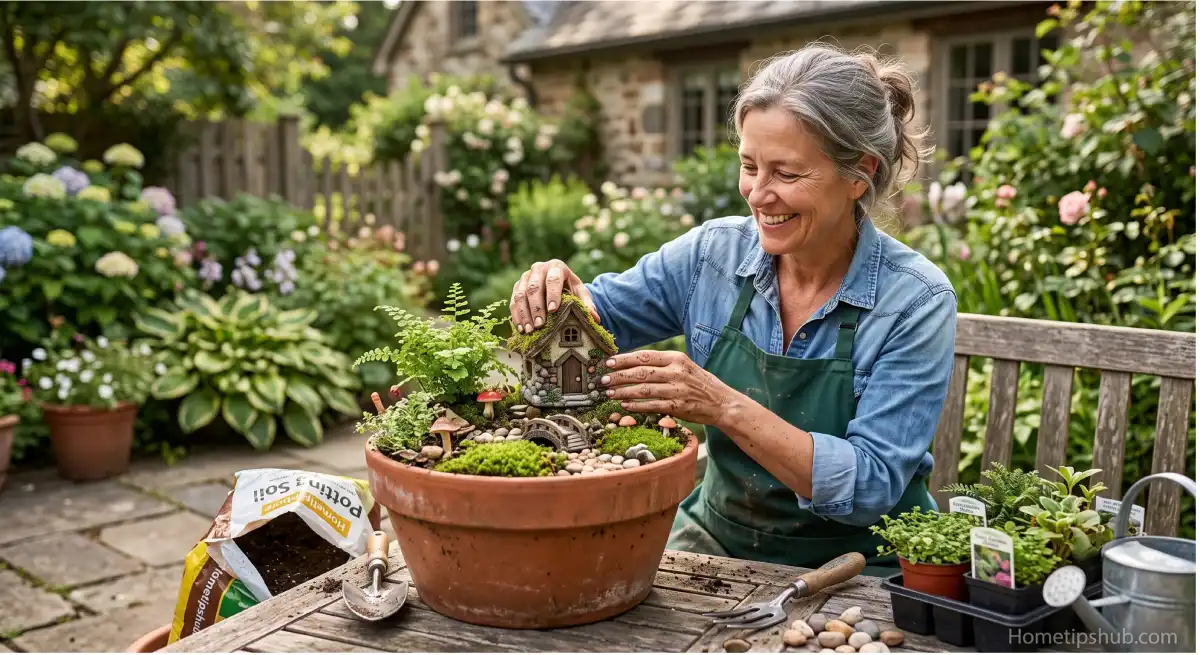
Ever peeked into someone’s backyard and spotted a tiny door tucked at the base of a tree, a miniature bench, or a pebble path leading to nowhere in particular? That’s a fairy garden, and once you know how to make one, you’ll understand exactly why people get hooked on this hobby. It’s part houseplant, part dollhouse, and part storytelling — and it’s a lot easier to pull off than it looks.
This guide walks you through everything you need for a beginner project, from picking a container to landscaping the tiny terrain to adding the little touches that make it feel alive. Whether you want a windowsill setup or a full backyard landscaping feature, you’ll find plenty of fairy garden ideas here that fit your space, budget, and skill level. By the end, you’ll have a real plan (not just Pinterest envy) for building your own magical fairy garden.
What Is a Fairy Garden and Why Start One?
A fairy garden is a small-scale garden designed to look like a home for fairies, gnomes, or other tiny woodland folk. Think miniature furniture, tiny fences, moss “lawns,” and pebble paths, all scaled down to fit in a pot, a tray, or a corner of your yard.
People love this hobby for a few reasons:
- It’s low-cost compared to most gardening or home decor projects.
- It works indoors or outdoors, so apartment dwellers aren’t left out.
- It’s genuinely fun for kids and adults to build together.
- There’s no single “right” way to do it, so creativity is welcome.
If you’ve been searching for a low-pressure creative outlet, this is it. A homemade fairy garden doesn’t need special tools or a green thumb — just a little patience and imagination.
Fairy Garden Design Basics Before You Start
Before diving into the build, it helps to think through a few design basics. Good design isn’t about cramming in every cute miniature you can find — it’s about creating a believable, tiny world.
1. Pick Your Container First
Your container shapes everything else. Common options include:
- Wide, shallow terra cotta pots
- Wooden crates or half-barrels
- Old wheelbarrows or teapots
- A defined corner of a garden bed
- Hollow tree stumps
A wider, shallower container gives you more room to work with than a tall, narrow one.
2. Choose a Theme
A clear theme keeps your setup cohesive instead of cluttered. Popular options include a cottage garden, a beach retreat, a fairy tea party, a woodland cabin, or an enchanted forest path. Pick one, and let it guide every decoration you add.
3. Sketch a Rough Layout
You don’t need to be an artist. Just decide where the “house” or focal point goes, where the path leads, and where plants will frame the scene. This small step saves you from redoing the whole thing later.
How to Make a Fairy Garden: Step-by-Step Tutorial
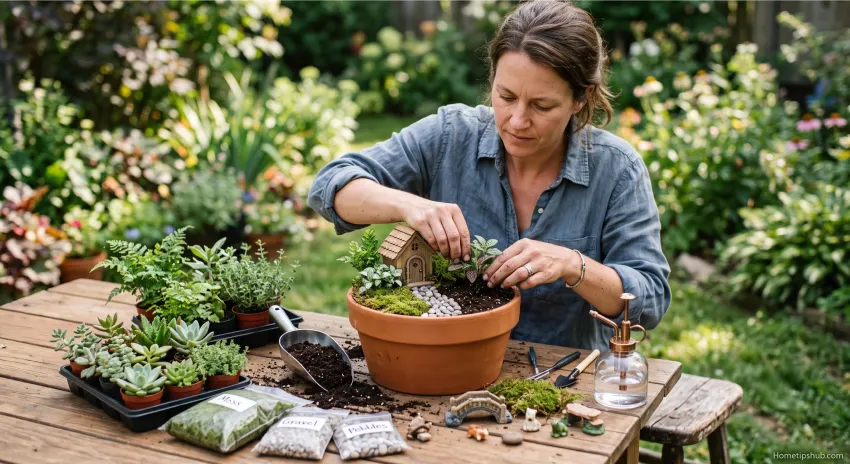
Here’s the core tutorial, broken into simple steps anyone can follow.
Step 1: Gather Your Base Materials
You’ll need:
- A container (see above)
- Potting soil (well-draining is best)
- Small gravel or pebbles for drainage and paths
- Moss (real or preserved)
- Miniature plants
- Decorative accessories (house, furniture, fairy figures, fencing)
Step 2: Add Drainage and Soil
If your container doesn’t have drainage holes, add a one-inch layer of gravel at the bottom before adding soil. Fill with potting soil, leaving about an inch of space below the rim.
Step 3: Plan Your “Landscape”
This is where fairy garden landscaping comes in. Build gentle hills with extra soil, carve out a “pond” area with a small dish or blue glass beads, and use pebbles to outline a winding path.
Step 4: Plant Your Miniatures
Add small plants first, working from back to front so taller ones don’t block shorter ones. Leave open patches of soil for moss, since moss reads as a lush lawn once it fills in.
Step 5: Add the Structures
Now add the fun part — the tiny house, bridge, or bench. Place your focal structure first, then build everything else around it.
Step 6: Decorate and Personalize
Finish with fairy figures, fences, tiny lanterns, or a miniature mailbox. This is where your crafting skills really shine, and it’s the step that turns a planted pot into a genuine scene.
Step 7: Water Carefully
Use a small watering can or spray bottle so you don’t wash away your careful landscaping. Water lightly and check soil moisture every few days.
Best Plants for a Miniature Fairy Garden
Picking the right plants matters more than people expect. For a true miniature garden, look for plants that naturally stay small or respond well to trimming.
Good options include:
- Baby’s tears (creates a lush “ground cover” look)
- Dwarf mondo grass (mimics a tiny lawn)
- Miniature ferns (great for shady, woodland themes)
- Sedum or succulents (perfect for sunny, drought-tolerant setups)
- Thyme (adds texture and a pleasant scent)
- Irish moss (reads like soft green carpet)
Avoid fast-spreading or large plants that will overwhelm your scale within a few weeks. If you’re building an outdoor landscaping feature, choose plants suited to your USA growing zone so they survive outside the container season.
Fairy Garden Decorations and Accessories to Try
The decorations are what transform a planted container into a whimsical little world. Here are ideas across a few categories:
Structures: tiny cottages, gazebos, bridges, wells, and windmills.
Furniture: miniature benches, tables, swings, and rocking chairs.
Lighting: solar-powered fairy lights or tiny LED lanterns for evening charm.
Pathways: crushed shells, colored gravel, or flat river stones.
Figures: fairies, gnomes, small woodland animals, or dragons for a fantasy twist.
Signage: hand-painted pebbles or popsicle-stick signs pointing to “Fairy Village” or “Gnome Crossing.”
A good rule of thumb: pick one focal structure, two or three furniture pieces, and a handful of small details. Overloading a small space actually makes it look busier, not more magical.
25 Fairy Garden Ideas to Inspire Your Project
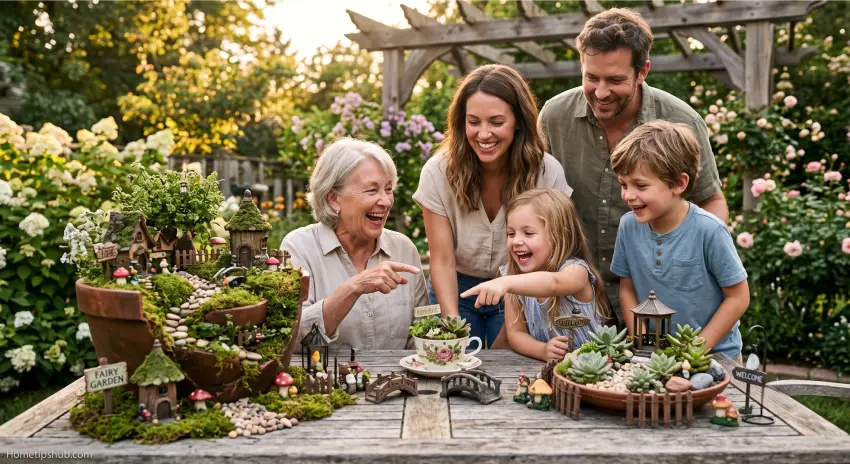
Need quick inspiration? Try one of these:
- A teacup scene using a chipped vintage teacup
- A hollowed-out tree stump woodland setup
- A beach-themed garden with shell paths
- A vertical design built in a wall planter
- A garden built inside an old wheelbarrow
- A moonlit setup with solar lights
- A fairy tea party scene with tiny table settings
- A gnome village with multiple little homes
- A succulent-based garden for sunny windowsills
- A design built around a birdbath
- A hanging basket version for small balconies
- A mushroom-house theme
- A pond scene with a mini bridge
- A rustic barn wood planter box
- A butterfly garden scene
- A castle-themed setup for kids
- A zen-style design with sand and stones
- A seasonal garden that changes decor by season
- A terrarium version under glass
- A design built into a birdhouse base
- A cactus and desert-themed scene
- A tiny library scene with miniature books
- A campfire scene with mini logs and lanterns
- A flower-based garden using real blooms as “trees”
- A recycled-materials version using bottle caps and corks
Common Mistakes to Avoid
Even an experienced crafter can run into snags. Watch out for these:
- Overcrowding: Too many accessories make the scene feel cluttered instead of charming.
- Wrong scale: Mixing miniatures that are clearly different sizes breaks the illusion.
- Poor drainage: Waterlogged soil kills plants fast, especially in containers without holes.
- Ignoring light needs: Shade-loving moss won’t survive in full sun, and vice versa.
- Skipping maintenance: Even low-fuss plants need occasional watering, trimming, and weeding.
Frequently Asked Questions
What do I need to start a fairy garden?
At minimum, you need a container, potting soil, small plants or moss, and a few decorations. Everything beyond that is optional and can be added over time.
Can I make a fairy garden indoors?
Yes. Indoor setups work well in shallow pots or terrariums near a bright window. Just choose plants suited to indoor light levels, like small ferns or succulents.
How much does a DIY fairy garden cost?
A simple beginner project can cost as little as $15–$25 using thrifted containers and homemade decorations. More elaborate setups with purchased miniatures can run $50 or more.
How do I keep my fairy garden plants alive?
Water lightly and consistently, avoid letting soil dry out completely, and match your plant choices to the light conditions of your container’s location.
Do fairy gardens need real figurines?
Not at all. Some people skip figurines entirely and let the mini landscape and structures tell the story on their own.
Final Thoughts: Start Your Fairy Garden Today
Learning how to make a fairy garden really comes down to picking a container, building a believable tiny landscape, and adding personality one small piece at a time. There’s no perfect formula, and that’s the appeal. Whether you’re building a beginner setup on a windowsill or a full landscaping feature in your backyard, the process itself is half the fun.
Grab a pot, a bag of soil, and a few tiny plants, and start your first project this weekend. Once you see that little world come together, you’ll already be planning your next one.